Hemming is honestly one of my least favorite sewing steps, but it is an important one. A sure giveaway of poorly homemade pants is a crooked, sloppy or uneven hem. A well-made handcrafted garment should have a crisp, even hem that hits at just the right length.
In this post I will show you my 6 steps to hemming pants. I will also share with you my hemming secret weapon!
Let’s jump into the tutorial. First you will need to gather all your supplies.
Supplies
- Sewing machine
- Serger (optional)
- Needle (correct size and type)
- Matching or contrasting thread (depending on the look you desire)
- Pants
- Sewing hem gauge
- Pins
Steps:
1. Finish your raw edge
I typically use my serger to finish the raw edge of my pants leg. If you don’t have a serger you can use a zig zag stitch or overcast stitch on your sewing machine.
2. Use a seam guide to measure and pin hem width.
My sewing gauge is my secret hemming tool and I love it. It is the best tool for creating an even hem on pants (or tops or skirts or dresses). Sure you could use a tape measure or a ruler but the little blue lever on the sewing gauge provides a small lip for you to line up against the finished edge of your fabric. Simply slide the lever to the specified or desired width.
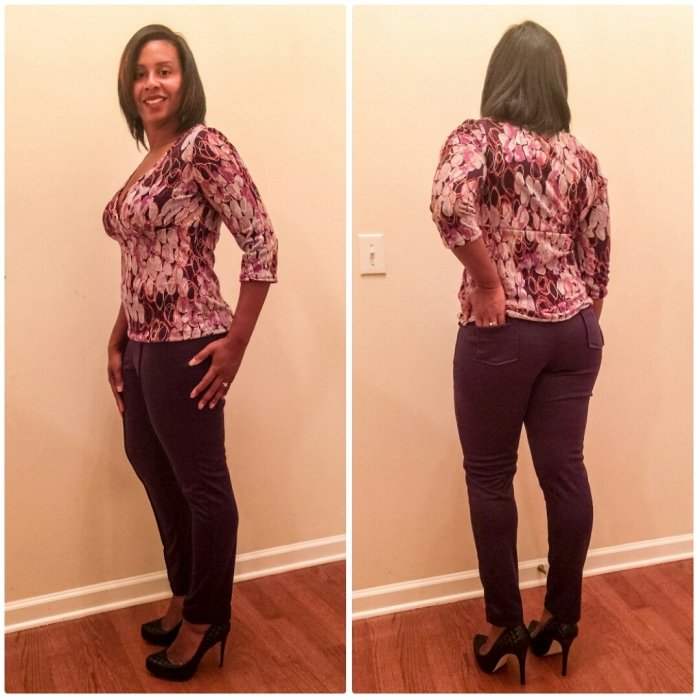
For this tutorial I am using a pair of pants I made from Simplicity 1019 which calls for a 1-1/4″ seam, so I moved the lever to 1-1/4″. Use the seam guide to measure, fold over and pin the hem width around your pants leg to create a even hem. I typically do this in four places; at each side seam and at the halfway point of the front and back leg piece.The exception being with wide legged pants, where you would need several more pins.
3. Press the fold.
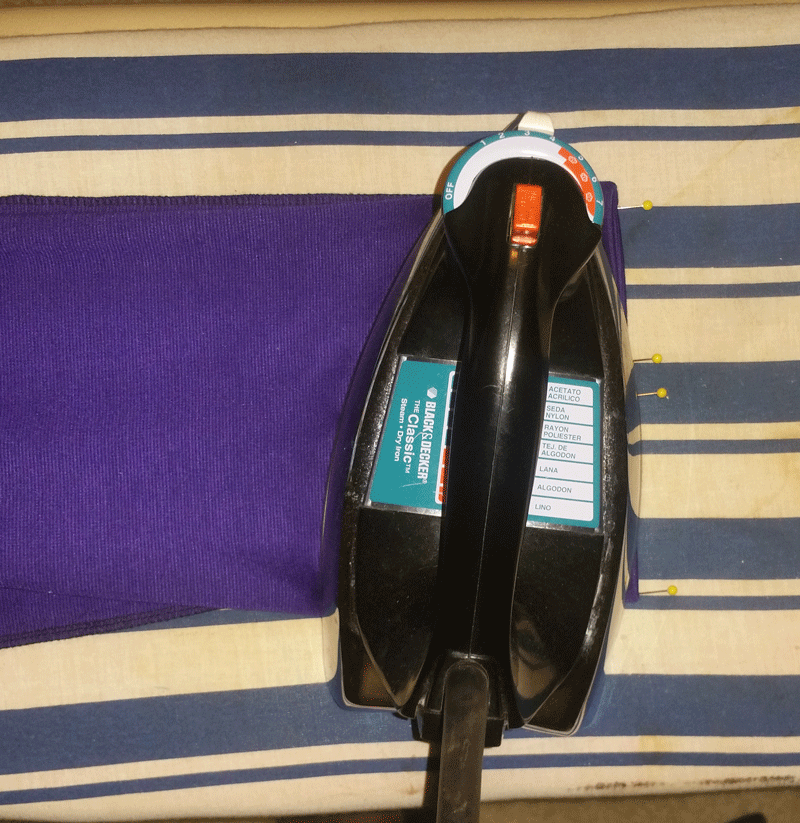
Once your hem is measured and pinned, the next step is to press. Notice I said press and not iron. Pressing involves placing the iron straight down onto fabric and allowing it to sit for 20-30 seconds to set a fold or seam. Ironing is sliding an iron back and forth to remove wrinkles. Pressing your hem is essential for a clean look and is also eases the sewing process.
4. Remove the extension table
Remove the extension table (if you have one) from your sewing machine so that you can expose the free arm. This allows you to slip the pants leg onto the free arm for easier maneuvering while sewing.
5. Sew
After placing the pants leg around the free arm, line the raw edge of hem along the left edge of your presser foot and sew. I like to start at the inside seam and work my way around, backstitching when I reach the starting point to secure the stitch. Repeat for the other leg.
Another important factor is to make sure your sewing needle is the right type and size. If you are sewing knits be sure to use a ballpoint or stretch needle, a universal needle is best for wovens, denim for jeans and leather for leather. A needle should be replaced after 4 hours of sewing or every 1-3 projects depending on the size. This is because needles dull over time from piercing through fabric repeatedly. A dull needle can cause skipped stitches, small holes and nested bobbin thread. A fresh (or just not dull) needle will keep your hem free of this issues.
One note on thread, most likely you will want to use coordinating thread for your pants hem. If this is the case try to find a match to your fabric and if in doubt go a shade lighter versus darker for an invisible hem. If you are making jeans you might want a contrasting color (the typical tan stitching).
6. Wear!
You now have an evenly hemmed pair of pants! Wear them with pride. I love my end result! Thanks for reading! Check back tomorrow for my pattern review of Simplicity 1019.
If you have any questions, comments or tips please share them in the comments. And if this tutorial has helped you please vote for me at the Fabricista Fabric Mart Challenge!


What do you think?